Sunday, June 25, 2017
Apologies and updates
We would most sincerely like to apologize for our lack of updates. We ran an unsuccessful and a partial successful game at Cold Wars and Har:Con. Rules and numbers are being adjusted in preparation for our next appearance at Historicon in Fredericksburg, VA on July 12-16. My game will be on Friday and Saturday at 9AM.
Wednesday, January 25, 2017
IJA Test Troops Done. Onto Armor.
And we are back to our regular programming. We resume painting our IJA troops in the style of the JGSDF by continuing with their boots that I painted satin black using Delta Ceramcoat.

We then finish up our troops by painting their weapons. Rifles and binoculars were painted a Model Master Enamel Gunmetal.

After that, any tubed weapons went OD(JGSDF) and shells painted Olive Drab.

With all of the test troops painted, it was time to lay them out. There is an out-of-date stat card for the IJA Platoon. Sure can't wait to field them.

With things winding down; just to ratchet back up, it became high time to work on the vehicles. Here, we have 10x Type-90 MBTs, 2x Type-60 SPRGs, 2x Type-87 SPAAG, 4x Type-74 MBTs and 4x Type-61 MBTs.

Now, I bought these from BV Traders and half of them (11 out of 24) arrived on what is perhaps my BIGGEST PET PEEVE for wargaming; using coins as bases. GRRRRRR!
On the other hand, a bit of de-bonder, a minute later and I became 11 cents richer.


The rest of the vehicles for the IJA have been assembled and awaiting at the time drier weather to finish primering them.

Onto the modifications. The Asura Battlesuit is suppose to be the Type 89 Feedback Protector.
Modifications began by carefully snipping off those ... whatever those are on the top.

I then cut out some 1/8" x 1/8" pieces of balsa wood to represent the rocket pods.

I then found some scrap plastic tubing that is suppose to be the .50cal rotary that these things have.

And with the heavies comes the US Army. Again, I never painted US Army camouflage circa 1998 before so here goes nothing.
Helmets and uniforms were painted Tamiya NATO Green (XF-67) and Field Grey (XF-67).

The next step is to paint on large splotches of Model Master Armor Sand and that is where we end for the night.

As of now, I am working on the first of the BETA bases to be used in a test battle this Friday. I hopefully will bring you video of the game so with that, soldier on troops.
Saturday, January 14, 2017
Continued Work.
Last week, the final three AH-64C Apaches have arrived. Generalmajor Von Fluff (our cat Gibbs) is inspecting the newly arrived helicopters.

With commissions winding down as they get completed, it is time to get started on the IJA. These are my test ones that I will be using to paint up. First up was a bright green called Hauser Light Green from Folkart.
I use craft paints slightly thinned down with water and some soap for most of my painting cause they are cheap.
I painted the uniform and pants but for the helmets and the radio pack, I rolled a D10 (10 sided die). Evens and 1s went camo and with that they went Hauser Light green and the remaining odds are going Tamiya Dark Green (JGSDF) (XF-73)

With that applied and dried, I then applied in large splotches Model Master Armor Sand.

Next up went on smaller splotches of Tamiya NATO Brown (XF-68)

After that went on tiny dots of Tamiya NATO Black (XF-69)

In between painting steps, I was doing up these Apaches. Not done yet but close.

Next are my various flesh tones and a touch up of Armor Sand.

The next step are the webbing. I am a detail oriented guy and thus I had to paint them.

The colors used are Tamiya Olive Green (XF-58), Tamiya Olive Drab (XF-62), Hauser Light Green (Will eliminate in the future cause it blends in too much to the original base color) and Vallejo Model Colors 70.988 Khaki.

Next were the pouches and canteens. I usually do these individually but at this scale, that be a bit mad; even for me so they were all painted the same color. These colors are Tamiya Khaki Drab (XF-61), Tamiya Olive Drab, Tamiya Dark Green (JGSDF), and Tamiya Olive Drab (JGSDF) (XF-74).

The next step I have done were the gloves which went burnt umber.

There is plenty to do still. There are the boots, weapons, tubed weapons and other steps. So we will continue with this in a few days. Until then, peace out.
Tuesday, December 27, 2016
Massive Update! A beginning to the work.
All right fellow eichi, pilots and commanders; today is a massive update so pay attention some. A few days ago, I received from Britain or the UK the first batch of two of metal troops and vehicles from Miniature Figurines http://www.miniaturefigurines.co.uk/Home.aspx. This should be enough to create two full companies of infantry, one for the Imperial Japanese Army and the other, the United States Army.

The following items were bought.
1x MVF101 VAB 6x6
1x MAV105 M557
7x MI022 US Infantry (Fritz Helmets)
3x MI023 US Support Weapons
2x MI024 American Crews

The mortars are a bit tricky with all of this flashing. For those that are inexperienced, here is a sort of helpful guide as to where to cut the excess "flashing"as it is called.

Priming allows a coat of paint to be applied as compared to it smearing or not sticking to the white metal figures bare. It also enhances the coats of paint that will go on top of it. There are plenty of on-line guides that goes in depth how to paint wargaming miniatures and what types of primer and colors to use.
Anyway, the troops are split into their individual groups.
A. M60
B. M249 SAW. Also the F2 Minami.
C. M47 Dragon ATGM (Anti-Tank Guided Missile)
D. From an earlier project, can't recall time number they belonged to but they are being counted as the FGM-148 Javelin ATGM.
E. Infantry armed with M16A2's. Since about half of them will be IJA, they will be based on what I can find on the JGSDF (Japanese Ground Self Defense Force) TO&E (Table of Organization and Equipment) of a typical JGSDF squad and I am using that as a basis for an IJA squad and such and such and so on, they are armed with the Howa Type 64 or the newer Type 89.
F. M557 counting as a M1068A3 Standard Integrated Command Post System (SICPS).
G. Radiomen.
H. Officers and spotters.
I. From MIO12 West German Support Weapons Panzerfaust, counting as the LAM 110mm.
J. Troops armed with the M16A2 with the M203 40mm Grenade Launcher.
K. BGM-71 TOW (Tube-launched, Optically tracked, Wire-guided) ATGM.
L. A French VAB 6x6 counting as the Type-82 Command and Communications Vehicle.
M, N, O, P, R. Artillery Crews for future 155mm field howitzers. Part of next months batch.
Q, S. Mortar crews.


Carefully peel the troops fro the tape as not to chip their primer. There may be some spots that due to deep recesses or crevasses were missed. Do not worry about these, they will be touched up later. For now, set them aside.


Monday, December 19, 2016
More Reinforcements!
The Apache received a touchup of its rotors and canopy and the decals applied.


The clear things to the right are the now OOP (Out of Production) DARPA Alpha Dogs from Fox One. The green ones in the middle are the Type-60 Recoilless Rifle carrier and the ones on the right are the Type-87 Self-Propelled Anti-air Guided vehicles aka Guntanks. Both are from Konami.
5 Eagles have been built, a 6th is being built and the final one is still in the box. Some of the new BETA cards have been made. Awaiting funding to complete the rest. I am expecting the infantry to arrive this week or the next. Yay. With that, until next time.

And in other news, REINFORCEMENTS ARRIVED! I must admit, I did procrastinate for a bit and should of updated when these arrived but oh well.

The clear things to the right are the now OOP (Out of Production) DARPA Alpha Dogs from Fox One. The green ones in the middle are the Type-60 Recoilless Rifle carrier and the ones on the right are the Type-87 Self-Propelled Anti-air Guided vehicles aka Guntanks. Both are from Konami.
5 Eagles have been built, a 6th is being built and the final one is still in the box. Some of the new BETA cards have been made. Awaiting funding to complete the rest. I am expecting the infantry to arrive this week or the next. Yay. With that, until next time.
Sunday, December 11, 2016
AH-64C Apache Completed.
After an hour or two worth of painting and touching up, the first AH-64C Apache is done. Learned a lot from this one and expect the other 3 to be even better construction wise.

The Apache went Tamiya XF-67 NATO Green. The wheels, to be honest should of gone black, went Appel Barrel Pavement.

The canopy went Ceramcoat Satin Black for its partial shine and the edges Folkart Silver as well as the hydraulic arms for the landing gears. The weapon pods gone Tamiya FX-62 Olive Drab.

The chain-gun went initially Model master Enamel Gun Metal followed b the muzzel-break going Tamiya X-10 Gun Metal.

And that is it. I can't wait to get 3 more and have a whole attack wing worth. Until next time.
Saturday, December 10, 2016
Helis!
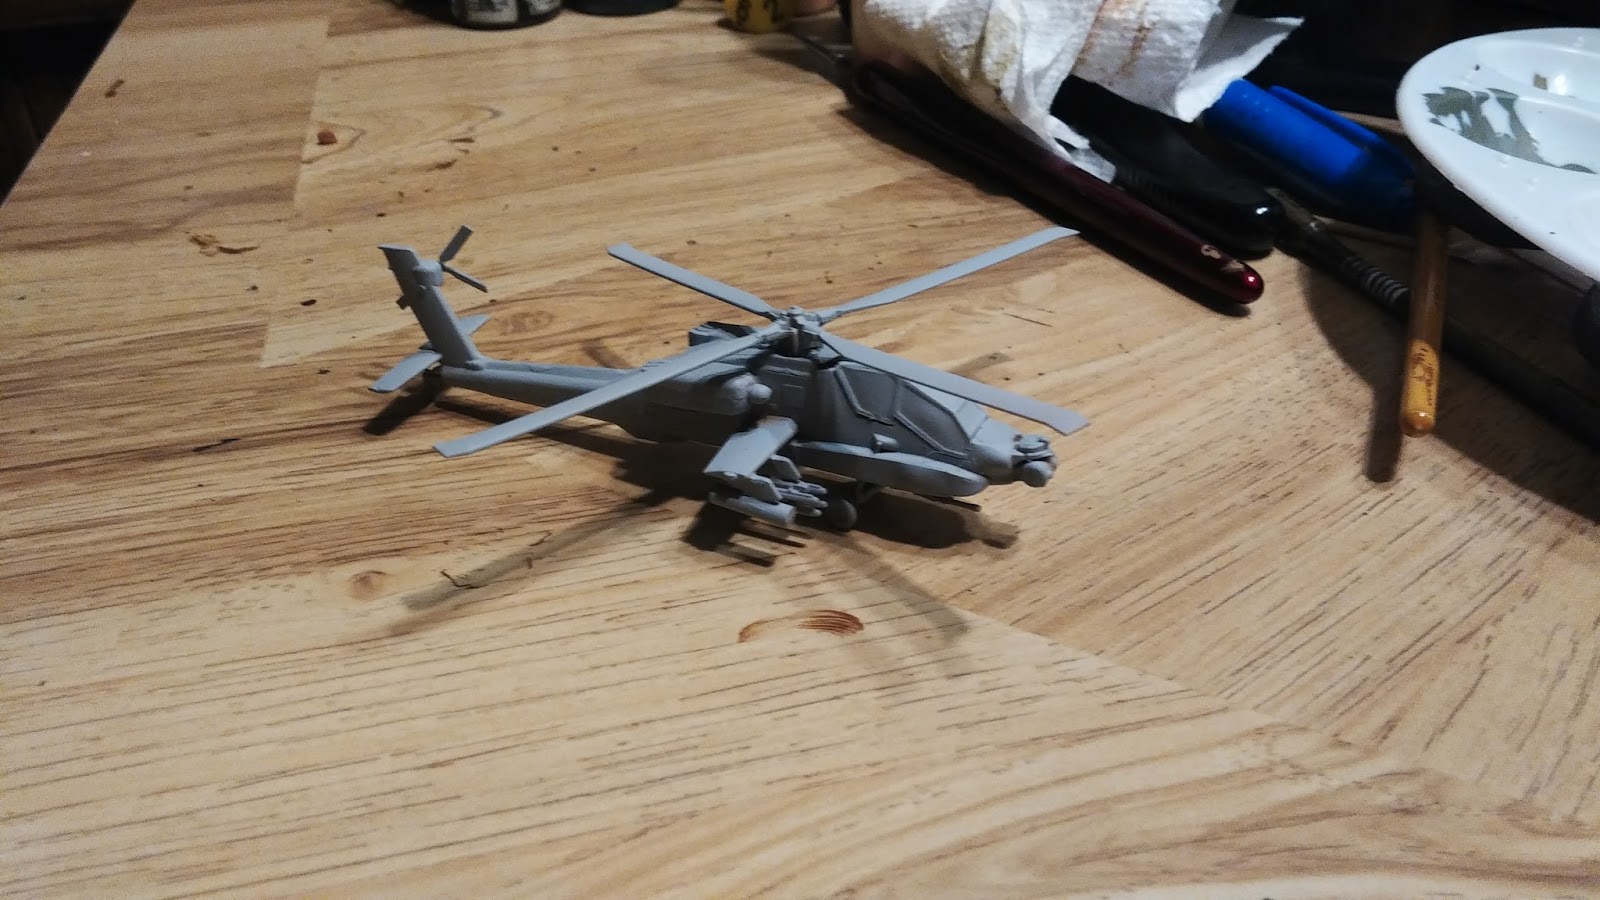
Besides the TSFs that I really should photograph, the first of the units to resist the BETA in March is built. From Zvezda is the 1/144 AH-64 Apache. After some research found out that this is a C model. So card has been made up, kit built and primered. Now onto the painting. Tomorrow.
Subscribe to:
Comments (Atom)